Over the past few years, I have become part of a wonderful community full of open-minded individuals that come together to create and build things. A community that works with intention and kindness. So many people in this community share their talents whether it be engineering, cooking, logistics or in my case art. I started designing bandannas to gift out in 2017. I am going to talk about my process and inspiration.
Relief Printing Bandannas.
I have always drawn faces. Usually when I am doodling or sketching its just mouths and noses in combination or eyes by themselves. The first bandanna inspiration came from a partial face doodle on a square piece of paper. I folded the paper realizing I could connect the edges of the drawing creating a continuous piece. This meant that once I carved the image into linoleum if I stamped it four times in a 2x2 square it would connect in an almost mandala fashion. The process I choose is a form of printmaking, specifically block printing. Essentially I carved my own stamp and stamped bandannas. I am going to walk through my process step by step.
Materials Needed:
Block Printing Ink - Specifically for this project I used oil based fabric ink.
Plain Bandannas
Iron
A piece of glass or plexiglass
I used Speedball brand for most of my tools, Speedball is non-toxic, economic and easily obtainable through Amazon or any art store.
Firstly I drew up a design, first in pencil then once I was happy with it, went over it in sharpie (the now ink conscious archival nut I have become shakes past me - sharpie is far from archival in terms of ink quality). Then I went over the sharpie image in a soft 6B graphite. I laid the paper drawing onto the linoleum block and rubbed the back of it hard and vigorously, in order to transfer the soft 6B graphite onto the linoleum. So that I could go over the 6B transfer that was now on the block in sharpie, so I would have a stable image to carve around that wouldn't smear. Did you catch all of that? Paper, pencil drawing, sharpie tracing, 6B pencil tracing, rub transfer to block, then trace again with a sharpie. Probably a little excessive but it worked beautifully for me.
Now that the image I wanted to draw was successfully on my lino block, it was time to start carving. I used Speedballs Linoleum Cutter, which comes with five different cutting nibs of various widths and depths. The tricky part about doing relief printing is that once something is carved, it is carved, there are no take backs or reattaching of the removed material. Everything that is carved away will not get ink on it, and therefore will not stamp/print. So it takes a bit of preplanning and an understanding of relief printing. It involves removing all of the negative space and not carving the positive space. The cutter is sharp and for safety reasons, it should be treated like a knife and a cut should always be made away from you to prevent the gouging of flesh.


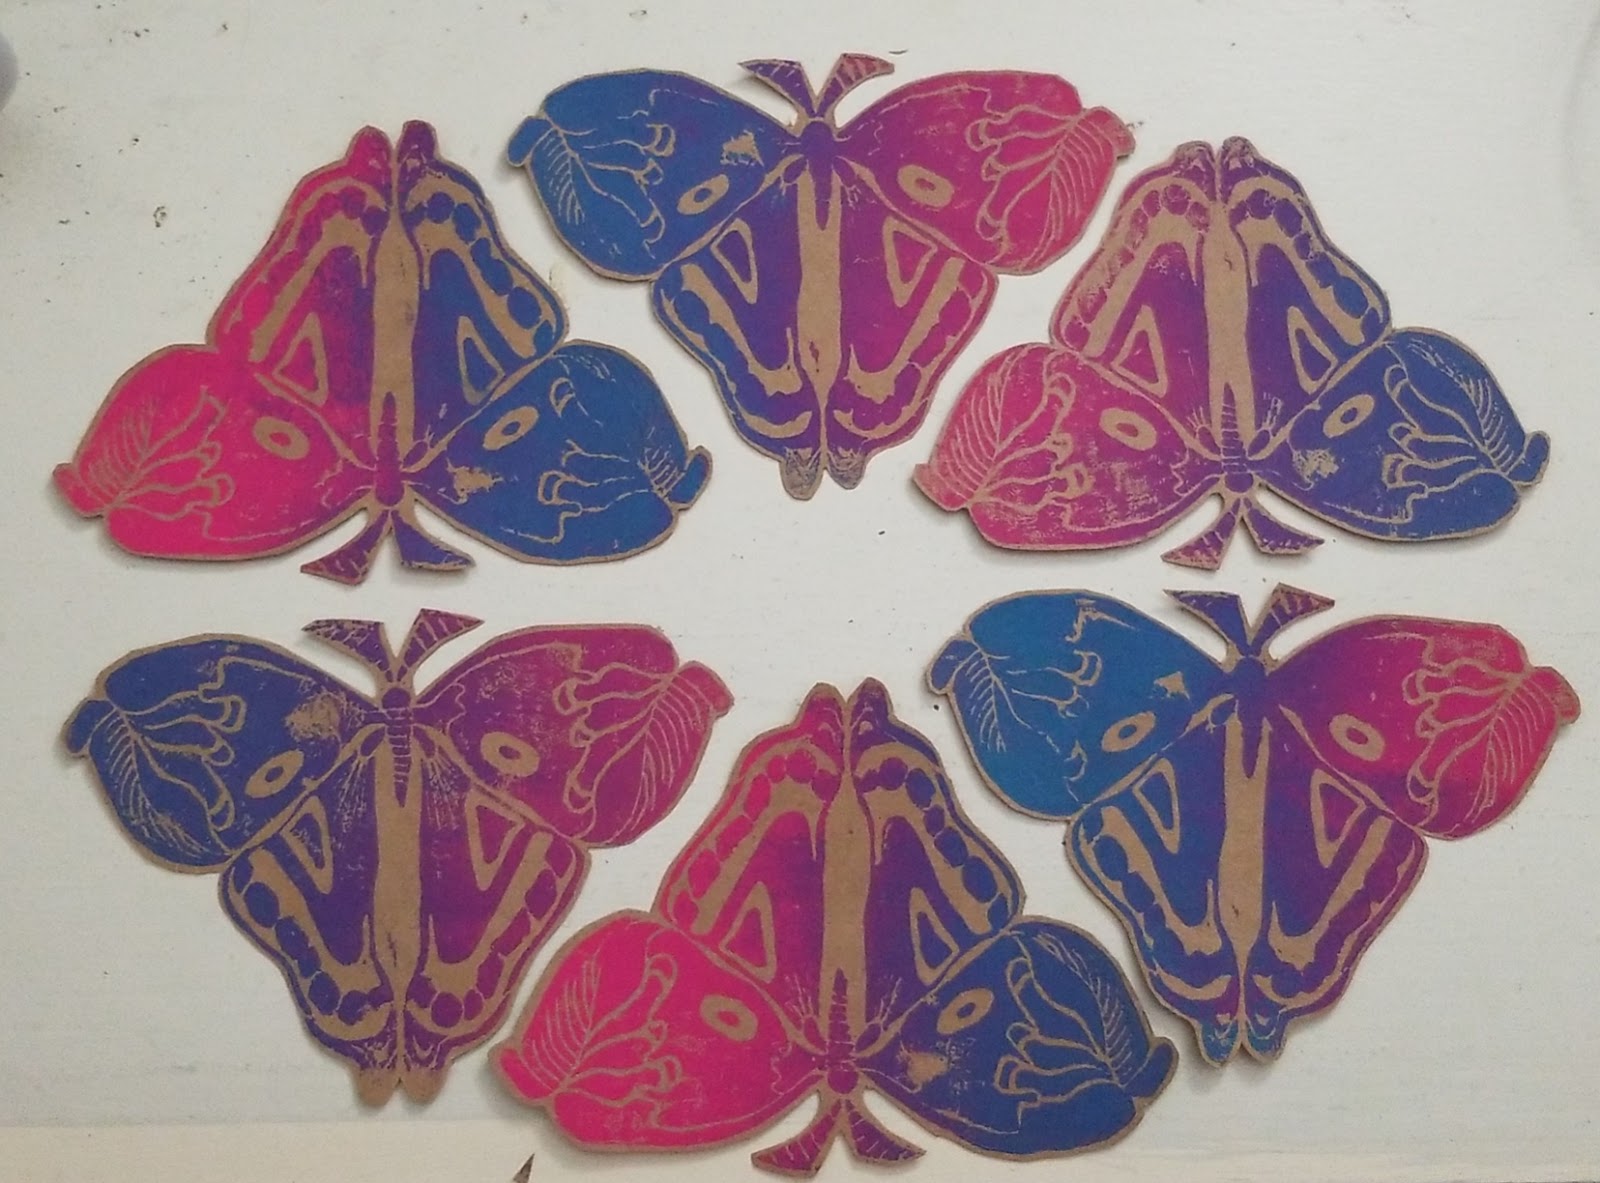
Here are some close up of the carved linoleum block, you can see where I carved to remove material and where I left material. You can also see a few of the excesses removed pieces that are laying on top of the block in the first image.
Once I had a carved linoleum block it was time to start printing. I purchased around a hundred bandannas, washed them and ironed them so that I'd have a clean and flat surface to print onto. I used the palette knife to distribute ink from the container onto my piece of glass. Then I ran the brayer back and forth to evenly coat it. Once the brayer was evenly coated I ran the brayer over the carved linoleum block. Once the linoleum block was sufficiently covered with ink, I placed it on the bandana and rubbed it evenly with a good amount of pressure in order to fully stamp it!


Above you can see where the brayer deposited ink and what will be stamped onto the bandannas. In the photographs below you can see the glass I use to ink my brayer, the inked block and the bandanna that I printed on.


Because I used an oil based fabric ink. The bandannas needed a week to dry and cure so that they could be worn and would hold up to washings and general wear and tear. The walls of my house were covered in bandannas thumb tacked to every reachable surface until they were done curing. Now for photographs of the finished product. Some of these are on bandannas, other are test prints on pieces of paper.


The finished and cured bandannas, all folded and ready to be gifted.

I hope you learned something or were inspired by my process to create something! If you have any questions, please feel free to leave a comment or shoot me an email.
madelinerella@gmail.com
IG: @madelineire
- Ciao -


